Test emails with Cypress.io
We will be discussing a topic that has been talked about when it comes to E2E testing. It's vital to cover complete E2E testing, even if the user receives an email confirmation.
Introduction
We will be discussing a topic that has been talked about when it comes to E2E testing. It's vital to cover complete E2E testing, even if the user receives an email confirmation.
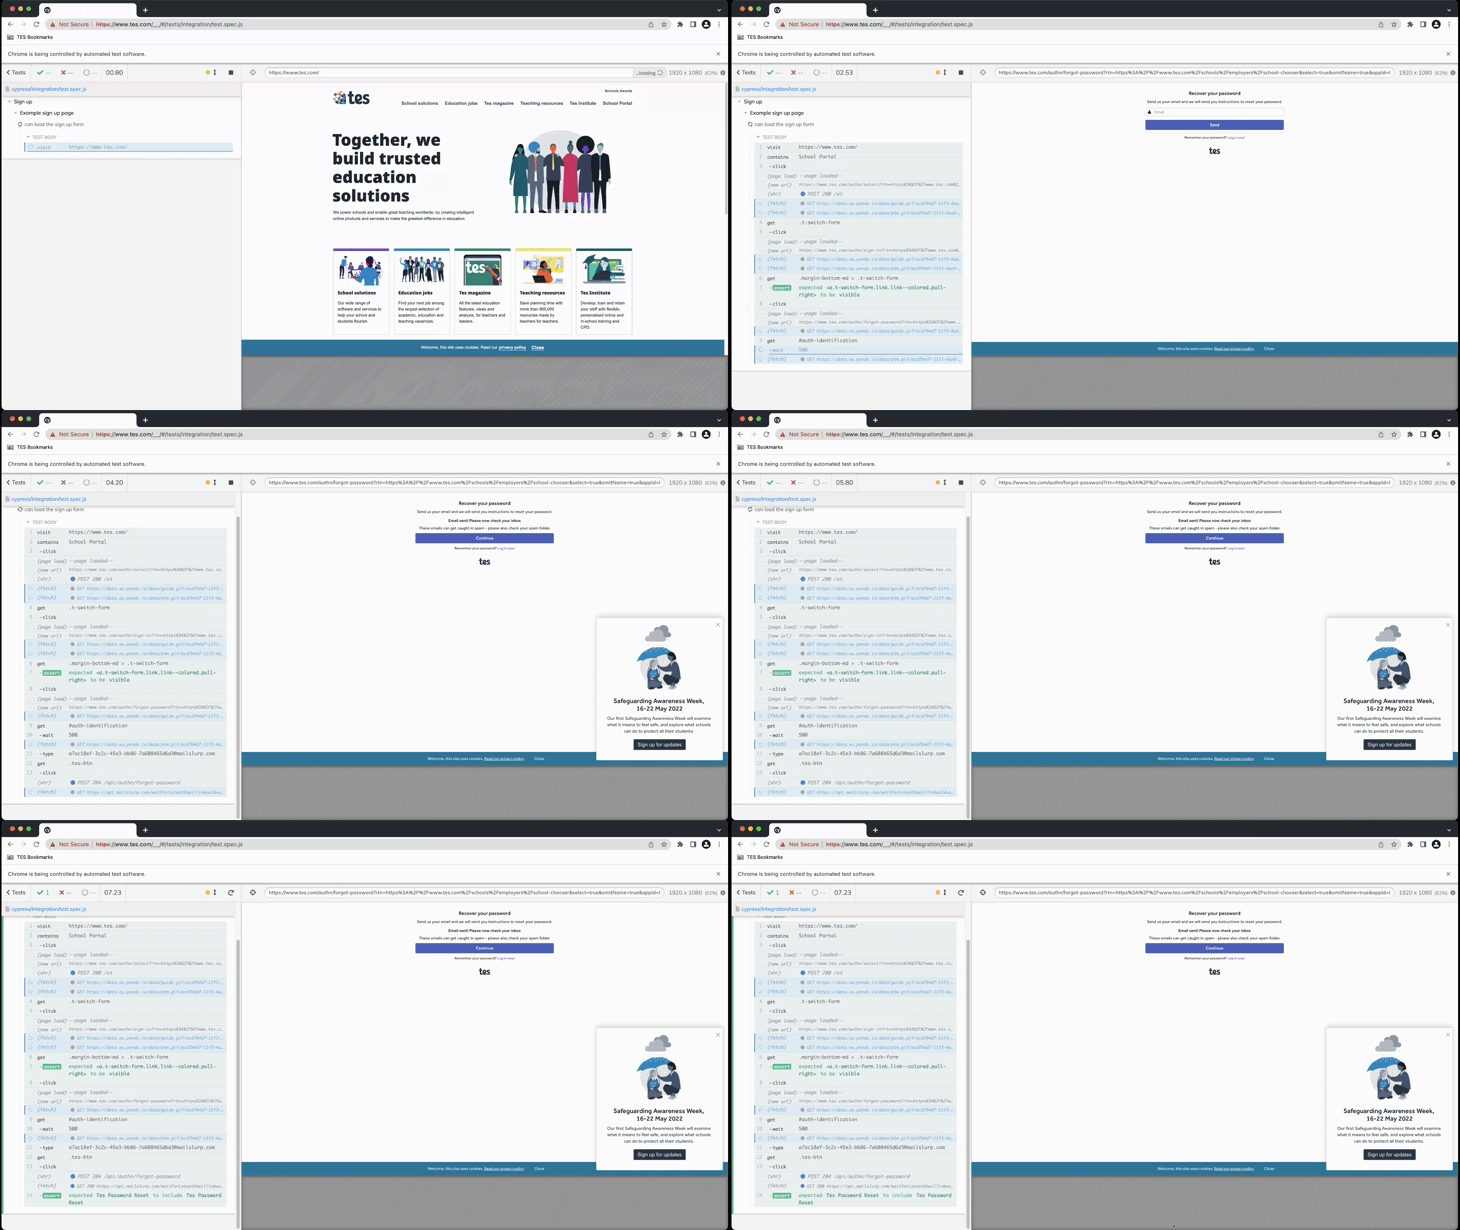
In this example, we will be looking at the forgot password feature on tes.com.
We will automate a test case to verify that the user receives an email to reset their password. We will be checking elements such as the From, Subject, and Body of the email.
The good news is that MailSlurp is a free API that lets you create real, randomized email addresses on demand. It also lets you send and receive email programmatically
Prerequisites
- Make sure you have NodeJS installed
- Create a free account with MailSlurp
- Create an Inbox to get an email & Inbox ID (save it for later)
Setup Cypress
Step 1: Install Cypress
Move to your directory
1
cd /your/project/pathInstall Cypress
1
npm install cypress --save-dev
Step 2: Opening Cypress
1
npx cypress openThis will generate the cypress folder where we can create a spec file
Step 3: Integrate MailSlurp
Install package
1
npm install --save-dev cypress-mailslurpThen include the plugin in your cypress/support/index.js file.
1
2
/// <reference types="cypress-mailslurp" />
import "cypress-mailslurp";
Set the environment variable CYPRESS_MAILSLURP_API_KEY or use the cypress.json file env property:
- Environment variable
1
CYPRESS_MAILSLURP_API_KEY=your-api-key cypress run- Cypress env property
1
{ "env": { "MAILSLURP_API_KEY": "your-mailslurp-api-key" } }Then, we will set defaultCommandTimeout and requestTimeout to 30 seconds, allowing our tests enough time to wait for emails to arrive. We will also modify the Cypress browser's viewport dimensions.
1
2
3
4
5
6
{
  "defaultCommandTimeout": 30000,
  "requestTimeout": 30000,
  "viewportWidth": 1920,
  "viewportHeight": 1080,
}
Step 4: Create a Spec file
Next, create a test spec in with the following folder structure:
1
2
3
cypress
└── integration
    └── example.spec.js
let's write our first test in the above directory:
1
2
3
4
5
6
7
8
9
10
11
12
13
14
15
16
17
18
19
20
21
22
23
24
25
describe('Sign up', () => {
  context('Example sign up page', () => {
    it('can load the sign up form', () => {
      cy.visit('https://www.tes.com/');
      cy.contains('School Portal').click();
      cy.get('.t-switch-form').click();
      cy.get('.margin-bottom-md > .t-switch-form').click();
      cy.get('#auth-identification')
        .wait(500)
        .type('emailAddress');
      cy.get('.tes-btn').click();
      cy.mailslurp()
        .then((mailslurp) =>
          mailslurp.waitForLatestEmail(
            'inboxId',
            30000,
            true
          )
        )
        .then((email) => {
          expect(email.subject).to.contain('Tes Password Reset');
        });
    });
  });
});
Note - Replace emailAddress & inboxId with your mailslurp inbox id and email address

Common methods
Receive emails in tests
1
2
3
cy.mailslurp()
    .then(mailslurp => mailslurp.waitForLatestEmail(inboxId, 30000, true))
    .then(email => expect(email.subject).to.contain("My email"))
Send emails
1
2
cy.mailslurp()
    .then(mailslurp => mailslurp.sendEmail(inboxId, { to: ['test@example.com'], subject: 'test', body: '<html></html>', isHTML: true }))